This is an old revision of the document!
Raspberry Pi(rate)Box
Raspberry Pi(rate)Box 1.1.3 is now available for download via BitTorrent! See our easy DIY instructions below for details on how to build your own Pi(rate)Box. And learn more about the PirateBox project here.
PirateBox 1.1 Features
Responsive design for ease of use with phones and tablets; UPnP Media Server for local streaming of movies and songs; Image and Message Board for 4chan-like functionality; chat room for anonymous communications; browser-based file sharing system!
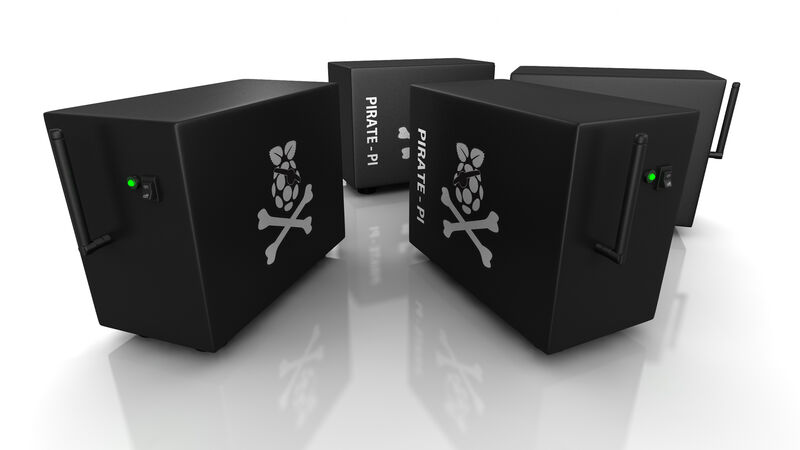
PirateBox Raspberry Pi DIY
PirateBox is an anonymous offline mobile file-sharing and communications system built with free software and inexpensive off-the-shelf hardware. You can use it to transform any space into a free and open offline communications and file sharing network. Learn more about PirateBox on our FAQ page!
We are providing a custom Raspberry Pi image, which is built on top of ArchLinux. You can learn more about it on our RapsberryPi Operating System Adjustments page. If you prefer building the PirateBox on Raspbian or Armbian you can find a manual setup page here. This is useful, if you want to use other one-chip computers, like the OrangePi. There are separate instructions available for: ChiPirate-BOX: the chipest and cheapest Pirate-BOX ever.
For support, be sure to check out the PirateBox Raspberry Pi page and the Raspberry Pi(rate)Box discussion board on our PirateBox Forum.
The following instructions are for installing PirateBox on a Raspberry Pi.
Stuff you will need
1. Raspberry Pi, learn about the different models. Pimoroni provides pretty nice sets including cases, psu and SDCards.
- Version A/B (Amazon)
- Version B+ (Amazon)
- Version Zero Pimoroni
- Version Zero-W (since 1.1.3) Pimoroni
- Version 2 (Amazon)
2. SD Card, Class 10 SDHC 8GB Card (Amazon)
3. USB Wi-Fi Adapter (compatible devices) - Note: RPi3 & Zero-W contains a built in wifi card.
4. 5V micro USB power supply (Amazon)
5. USB Flash Drive (single partition, FAT32 formatted) The Kingston DT 16GB works well (Amazon) (Newegg)
6. Ethernet cable (Amazon)
7. Computer with ethernet port - Note: Model A, RPi Zero and RPi Zero-W do not have an ethernet port.
8. 5V USB Battery (optional) (Amazon)
Installation
1. Using a BitTorrent client (Transmission for OS X and Linux) (Deluge for Windows, OS X or Linux) on your computer, download a copy of the
- For Raspberry Pi 1 A, B, B+, Zero & Zero-W : piratebox_rpi_1.1.3-1-19-03-2017.img.zip (SHA256 Checksum: a3583d99383dc58239338a7d33a070d85a3cfda9826a530ff3cfea16bba5588d)
- For Rapsberry Pi 2 & 3: piratebox_rpi2_1.1.3-1-19-03-2017.img.zip (SHA256 Checksum: 5a5baebd713758671219409e1e4b6af6cb03ea7cc78bc7c865ba5c4225fb77c1). If you have troubles using torrent, Christian Sievers provides an alternative download link here.
Note: Please help seed this file for other PirateBox downloaders!
Note: ![]() If you encounter a slow starting of the torrent download, you may pick up the corresponding torrent file in this forum post.
If you encounter a slow starting of the torrent download, you may pick up the corresponding torrent file in this forum post.
Note: Our RPi images since 1.1.3 contain some customization which should treat the SDCard well. One of the consequences of these changes is, that you should shutdown the RPi properly. The Linux Kernel will write data on the disk on a 5 minute interval during being idle to preserve some SDCard cycles. You can learn more about it on our RapsberryPi Operating System Adjustments page.
2. Extract the piratebox_rpi*.zip file and follow the Raspberry Pi SD Card Setup instructions (OS X instructions) (Windows instructions) (Linux instructions) to install the image to your SD card.
3. Once you have finished copying the Raspberry Pi(rate)Box image to your SD card, insert it into the Raspberry Pi and connect it via ethernet cable to your home router. Be sure your USB Wi-Fi adapter and FAT32 formatted USB drive are both plugged in (see “Stuff You'll Need” section above for more info on compatible devices).
4. Wait 2-3 minutes for your Pi to fully boot and then open a terminal window (for OS X, go to Applications > Utilities > Terminal; for Windows, install and open PuTTY) and ssh into your PirateBox:
ssh alarm@alarmpi
The password is: alarm
5. Once you have logged in, change your password (to something you'll remember!) by using the passwd command:
passwd
You will be prompted to enter and then confirm your new password.
Root user is not allowed to login via remote, you do not need to set a password for root. Use sudo to invoke commands as root.
Note: At this point, the PirateBox AP should be available, if you have a supported WiFi stick attached. For problems see here this mod guide or post to the RPi forum mentioning the failed WiFi auto detection.
6. Optional: By default, the PirateBox stores the uploaded files into the root filesystem. This is sufficient for first tests, but for larger installations you should consider using a different partition or medium. The extracted image uses around 2GB of the SD Card, so you can use the remaining SD card storage, or your USB flash drive. This process is documented on the Raspberry Pi(rate)Box Mods page.
7. Your PirateBox ist started automatically as soon as a supported WiFi stick is detected.
8. You are now ready to activate the Kareha Image and Discussion Board, enable your USB drive as share and start the UPnP server. See the post-installation instructions below for details.
Post-Installation
Once you have installed or upgraded your PirateBox, follow these final steps to activate the Kareha Image and Discussion Board and configure and start the UPnP media server.
1. Power up your PirateBox (make sure it is not connected via ethernet cable) and join the SSID “PirateBox: Share freely” network. Open a terminal window (for OS X, go to Applications > Utilities > Terminal; for Windows, install and open PuTTY) and ssh into your PirateBox:
ssh alarm@192.168.77.1
2. Recommended: Activate the USB Stick (FAT32 only) sudo /opt/piratebox/rpi/bin/usb_share.sh or (since 1.1.3) the spare space on the SDCard as storage using the command sudo /opt/piratebox/rpi/bin/sdcard_share.sh.
3. Activate the Kareha Image and Discussion Board by using the board-autoconf tool:
sudo /opt/piratebox/bin/board-autoconf.sh
4. Activate the “timesave functionality” once:
 sudo /opt/piratebox/bin/timesave.sh /opt/piratebox/conf/piratebox.conf install
 sudo systemctl enable timesave
5. Activate the UPnP Media Server by copying over the config file:
sudo cp /etc/minidlna.conf /etc/minidlna.conf.bkp
sudo cp /opt/piratebox/src/linux.example.minidlna.conf /etc/minidlna.conf
Note: Optionally, you can edit the config file (change the display name, etc) with:
sudo nano /etc/minidlna.conf
6. Finally, start the UPnP Media Server with:
sudo systemctl start minidlna
sudo systemctl enable minidlna
7. Your PirateBox should be ready to use! Be sure to also check out the Raspberry Pi(rate)Box discussion board on our PirateBox Forum.